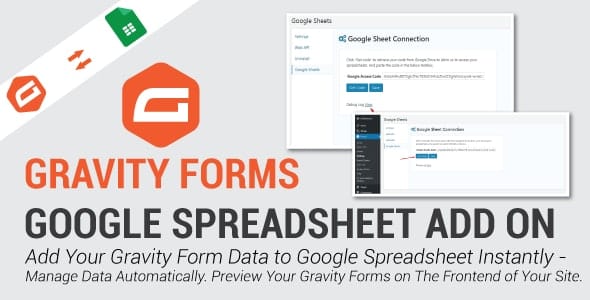
Gravity Form with Google Spreadsheet
Gravity Forms with Google Sheets connector is a WordPress add-on that helps you export your Gravity Forms data on a Google Spreadsheet after the user has submitted the form on your site. Connect and manage each Gravity Form’s data with its own Google Spreadsheet. This will allow you to filter data as required making data management simple and easy.


Google Spread Sheet In Gravity Forms Is Now Fully Compatible With Gravity Forms 2.5 Version.
Gravity Forms with Google Sheets connector is a WordPress add-on that helps you export your Gravity Forms data on a Google Spreadsheet after the user has submitted the form on your site.
Connect and manage each Gravity Form’s data with its own Google Spreadsheet. This will allow you to filter data as required making data management simple and easy.
Add-on Features
- Export and manage your Gravity Forms Data using Google Spreadsheet after the user submits a form on your site.
- Simultaneously manage unlimited forms without any problem.
- Each Gravity form will have its own separate Google Spreadsheet.
- Data from a new form will be added on a pre-selected sheet, as a new row under each field.
- Have the ability to filter the data according to your requirements.
- Choose the visibility preference for each field on the Spreadsheet – Show the data you think is relevant.
- All data will be listed horizontally on a sheet.
Note: Column name/labels on the Google Spreadsheet are NOT allowed to have spaces or special characters.
HOW-TO-GUIDE
How to add the Google API KEY
Step 1: Select the “Google Sheets” option under the “Forms” tab on the main menu. Here, you will find the main settings page where you can place the Google Access Code.
Step 2: Once the user is set up, click on the “Get Code” button, which will automatically redirect you to a “Google Sheet Connection” page.
NOTE: The user must be logged-in via Gmail in order to get the access code.
Place the access code in the field and click “Save.”
Step 3: Now that the forms have been created, click on the “settings” option under the selected form to integrate it with the Google Spreadsheet.
You can enable/disable the Google Sheet with any Gravity Form you want.
NOTE: You are allowed to integrate no more than just ONE Google Sheet with ONE Gravity Form.
Step 4: Form Settings: After you create a form, the first thing that you need to do is set up and connect the form with a Google Spreadsheet. For that, you need to enable the form’s connectivity by clicking on the checkbox labeled “Enable for this form”.
After that, simply type-in a Google Sheet name. Your Google Sheet will have multiple tabs under it, so provide the name of your primary tab (the one where you want to receive your initial data.)
Step 5: Connect the Gravity Form’s fields with the column names on your Google Sheet. After setting up your Google Sheet, you will move forward to a section labeled “Assign Google Sheet Column names for Field name.”
Here, you will see multiple fields that are aligned according to the one you created in your Gravity Form. Now, you will be able to export the Gravity Form fields to your Google Sheet column.
NOTE: You can either export all Gravity Form fields to the Google Sheet or just a few, the choice is yours.
Note: Column names/labels on the Google Spreadsheet are NOT allowed to have spaces or special characters.
Step 6: Error Log: Congratulations! We’re done with the settings configuration. If you find that your plugin is not working, please click on the “View” button under the “Debug Log” option to review errors (if there are any.)

WordPress theme
WordPress plugin
Woocommerce
GPL Plugins WordPress
GPLplugins
Free WordPress plugins
Free Woocommerce Plugins


Reviews
Clear filtersThere are no reviews yet.